Robot Code Setup
This page will help you create a robot code template
WPILib VSCode
During your installation of WPILib, you should have downloaded a version of VSCode called "WPILib VS Code". Take a look at the WPILib installation guide on how to download WPILib.
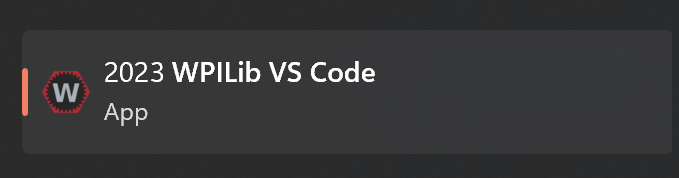
Open "WPILib VS Code"
Once the app has loaded, Click
Ctrl + Shift + PType "WPILib: Create a new project" and select the option
WPILib: Create a new project
You should see a project setup up screen
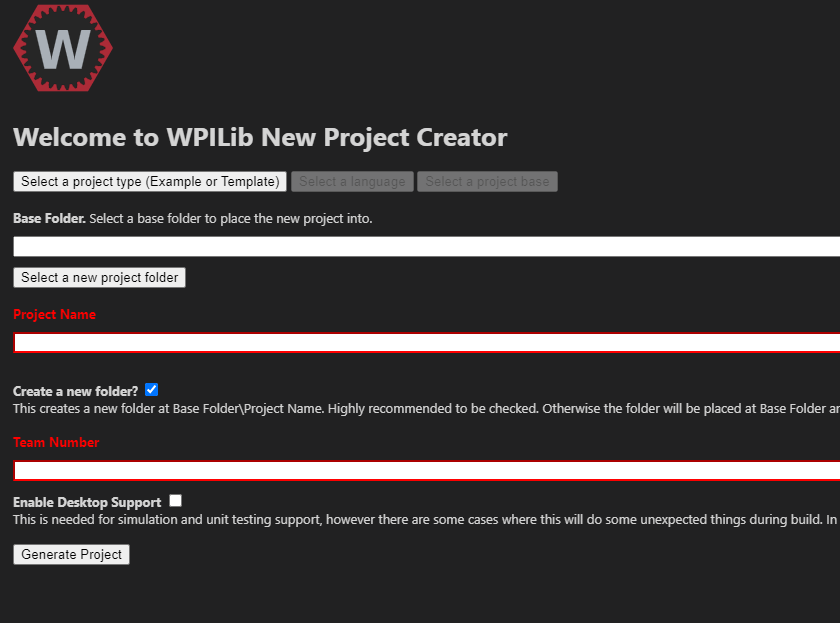
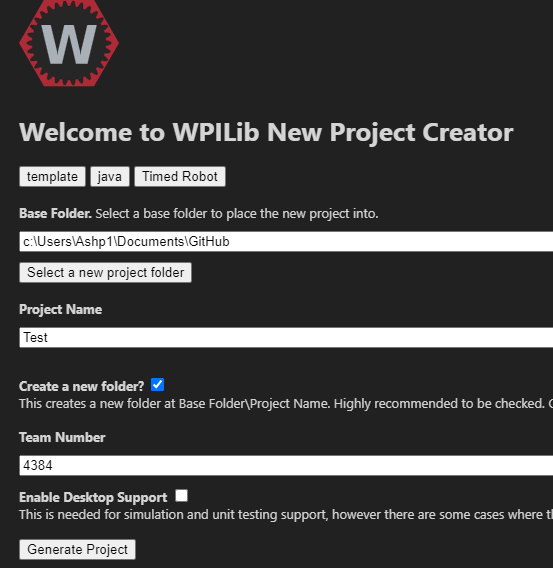
Select "Select a project type"
You can either choose "Template" or "Example"
- Example
- If you chose Example, select any project that suits your needs
- Template
- If you chose Template, select any of the template that suits your needs
- Example
Then select "Java" as your language
For Base Folder, select your project directory you want to store your project.
Under "Project Name" enter any project name.
Under "Team Number" enter your team number. Ours is 4384.
Click "Generate Project" and you have now created a base codebase for our robot.
Coding
To edit your robot project, we will use a code editor. You can either use IntelliJ (Team Preference) or VSCode (FRC Preference). For our team we will use IntelliJ.
- IntelliJ
- Open IntelliJ
- Select "Projects" on the left panel
- Click on "New Project" on the top-right of the widget
- Go to your project folder path
- Then click "Open"
- This should open up the editor and allow you to edit the project
If you get a message about project trust, just click "Trust Project"
- VSCode
- Open VSCode
- Top left click on "File"
- Select "Open Folder"
- Go to your project folder path
- Then Click "Open"
- This should allow you to edit the project